
Gorge yourself on these shots of seasonal deliciousness! I have big plans for these beauties…


Our journey of waiting passionately in every season of life.
Gorge yourself on these shots of seasonal deliciousness! I have big plans for these beauties…

This past month has been a discombobulated whirlwind in which life as I knew it is no more. Even as I type, my mind is adrift in foggy waters brought on by my latest allergic reaction to foods that I enjoyed the majority of my life.
Recent bouts of unexplained illness and gastrointestinal mayhem led me to request food allergy testing from my medical doctor. The results were positive for eggs and peanuts — foods which have always been part of my diet. I began the necessary steps to rethink, retrain, and relearn my methods of eating and cooking. My assumption was that my five-month-old’s eczema would clear up once my body recovered from those foods. It did not.
 |
| He’s too adorable to suffer from my food issues! |
Continued illness in myself and eczema in my sweet son left me confused and upset. How could someone who is so careful and intentional with a healthy diet continue to suffer? Why was my adorable, innocent baby plagued by scaly skin and rashes? When I vented my frustration and despair to my trusted mommy tribe, a beautiful friend suggested muscle testing, and gave me the name of a holistic doctor she herself had used. I was in his office the next morning at 8:00am with both of my minions.
Through the use of Nutritional Response Testing, he quickly identified that my body negatively reacted to ALL grains (not just gluten) and whey. He then tested Keane to figure out if there was anything else in my diet contributing to his eczema…there was. Soy.
Let’s recap that growing list of food allergies: eggs, peanuts, wheat, gluten, rye, barley, spelt, corn, rice, oatmeal, dairy, and soy. I haven’t yet mentioned the host of other foods that cause stomach aches and exacerbate eczema (but aren’t diagnosed allergies): avocado, banana, strawberries, blueberries, mango, passion fruit, kiwi, watermelon, most raw veggies, tomatoes, and the handful of others that I can’t quite remember until I accidentally eat them.
 |
| Cute, right? The eggs in this paleo recipe made me sick for two days. |
Initially, I felt excited that I could “fix” everything. I smiled at the thought of no more debilitating stomach aches; no more red, rashy cheeks and scaly skin for my baby; and no more guessing about what might cause my body to betray me. I had answers. The next step was to implement changes. Lots of changes.
I became proactive. I bought paleo cook books; I cleaned out my pantry; I bought new allergen-free ingredients to fill the voids in my pantry. I began the new journey with fervor…but after a week I was exhausted of reading labels and cooking every meal from scratch. I found quick fixes in drinking bone broth or eating apples for breakfast, tuna for lunch, and throwing soup in the crockpot for dinner.
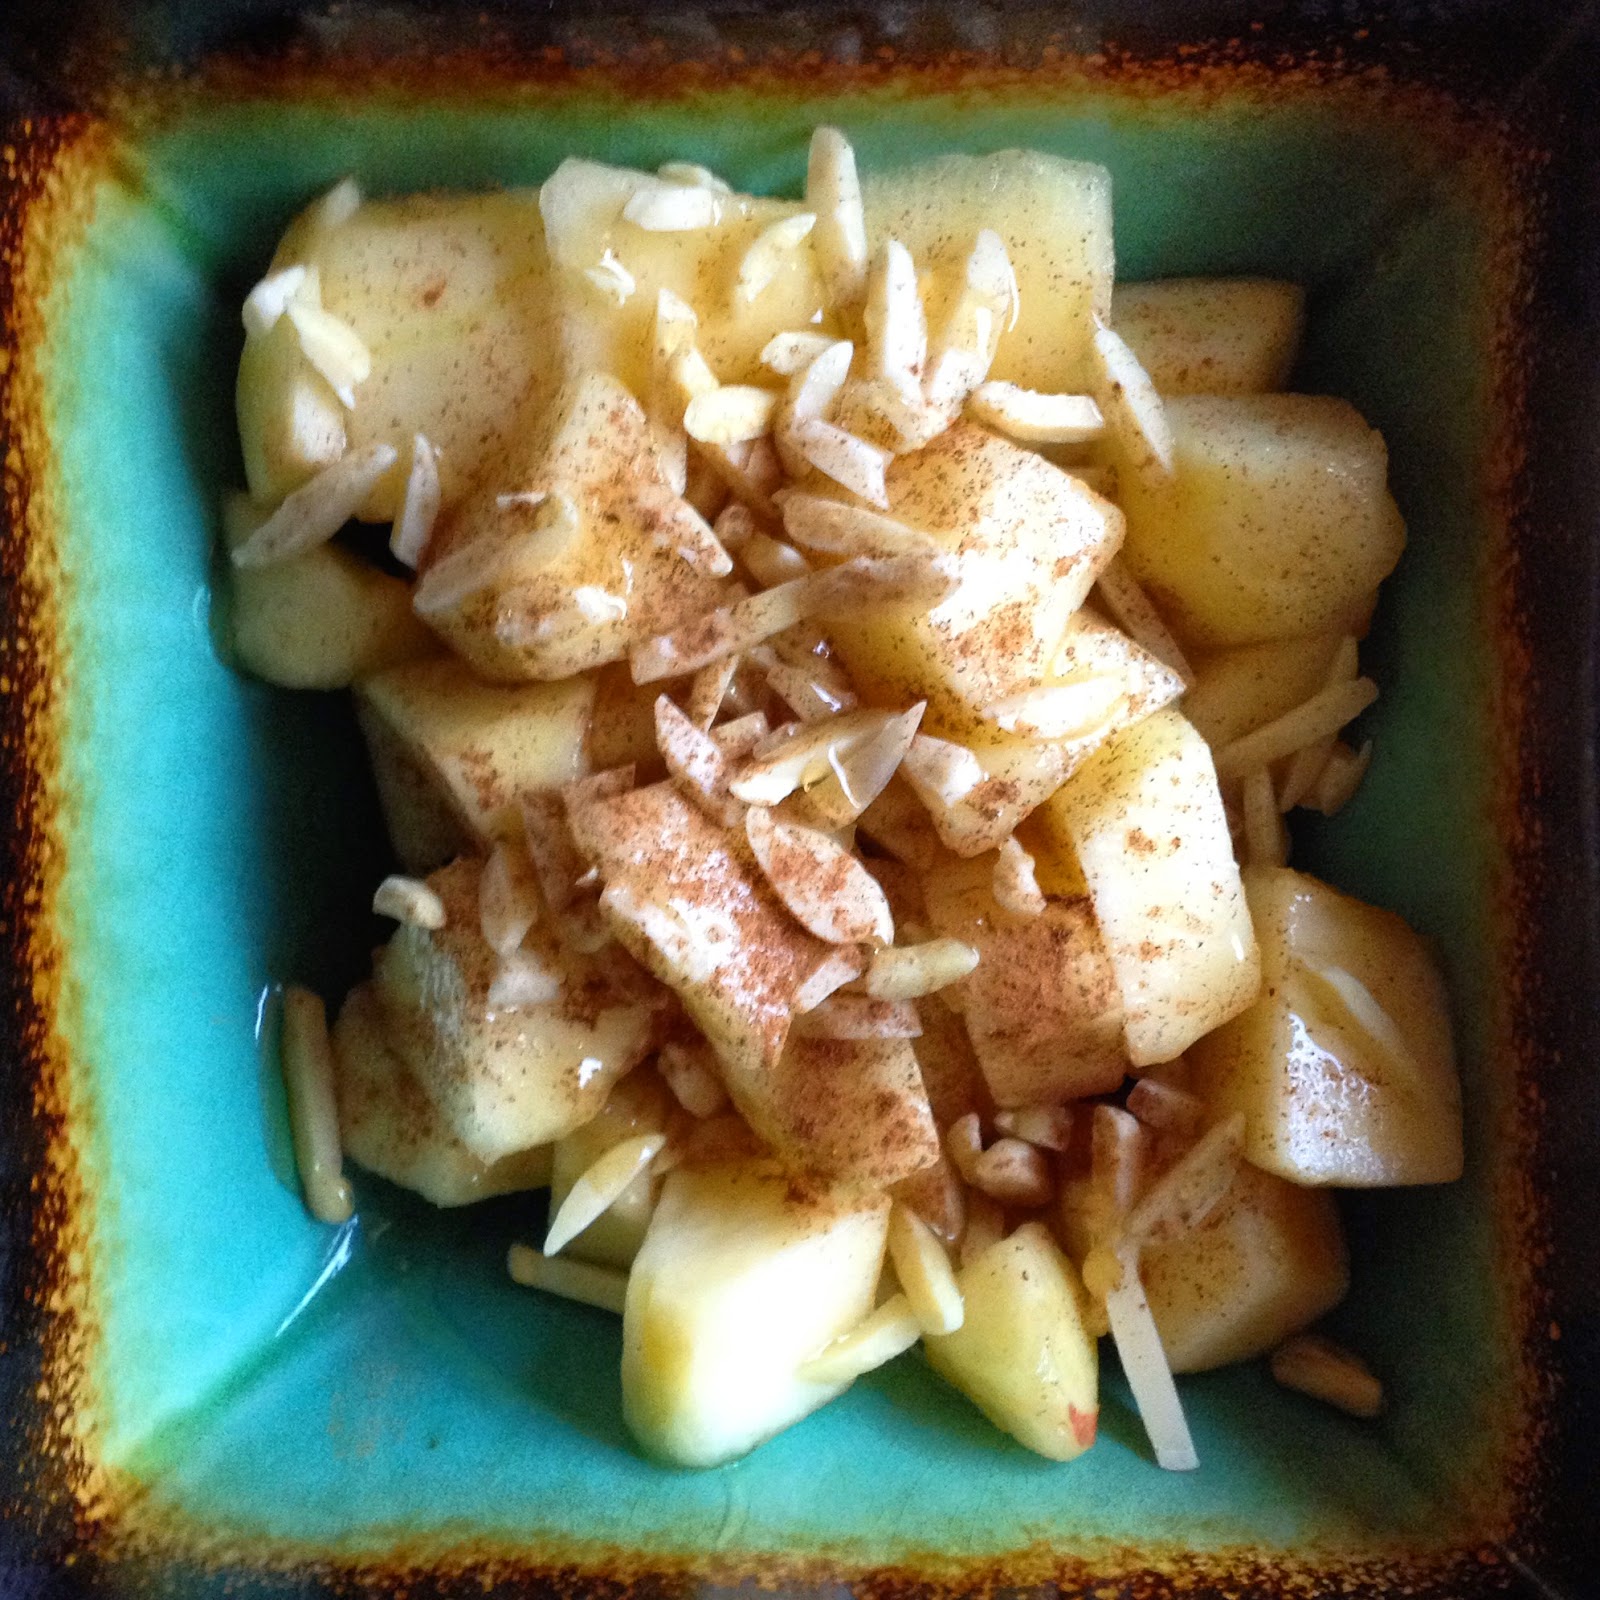 |
| Diced apples, cinnamon, honey, and almonds for breakfast |
Alternatively, fear crept into the back of my mind. While I looked calm on the outside, I started avoiding mealtime out of fear of accidentally ingesting something that would make me ill. The hours grew longer between breakfast, lunch, and dinner. Water and homemade lemonade filled my stomach instead of necessary nutrients.
 |
| Tuna, spinach, sauerkraut, dill relish, pine nuts, & sunflower seeds for lunch |
The fear was (and is) based in reality. Allergic reactions leave me feeling sick, exhausted, and mentally fatigued for days. It’s difficult to will myself out of bed for early morning workouts after lying awake in fetal position half the night. I went from missing one workout to one week of workouts…then two, now three. My mind and my body suffer. I err on the side of caution far more than usual, and it gets easier to make excuses to skip more workouts. That reasoning spills over into every aspect of my life, and I hate it.
Baby steps are key to my success. Doubling dinner recipes and freezing meals will be my new modus operandi. Simple, easy-prep, no-cook foods will become commonplace for breakfast and lunch. I literally cannot leave the house without packing my own food — that misstep leads to guaranteed failure. As daunting and overwhelming as it may be, it’s imperative that I keep a positive attitude and remain proactive in the kitchen. The alternative is to hide under the covers and atrophy into a shadow of myself. That is simply unacceptable.
Recover. Survive. Thrive.

Texas has finally decided that summer is over…it only took until November. We were in shorts and t-shirts until Halloween! Now that we’re threatened with “cold” weather, the sniffles and those pesky night coughs tend to come-a-callin’. Be ready to combat sleepless nights with this quick and easy homemade cough syrup.
If you have a stocked liquor cabinet, this just got easier. If you’re like me, this recipe will require a trip to the local liquor store. Hopefully you won’t have to drag a five-month-old and two-and-a-half-year-old with you. If you do take a toddler along, mentally prepare yourself for him to announce, “Mommy needs her medicine!” as you roll through the aisles. Let’s just say I wasn’t mentally prepared for that experience.
There are endless recipes for homemade cough syrups on the internet; I went through a handful, picking and choosing, until I compiled this simple recipe. Granted, I could have driven less than half a mile to one of the two pharmacies near my neighborhood, but my goal is to stay away from the unnecessary ingredients, preservatives, and dyes that are inherent with commercial cough syrups.
No heating, no steeping, no cooking required. Just mix the ingredients together and store in a mason jar. Since the alcohol acts as a preservative, you can leave it in the pantry — possibly up to a year. From what I’ve read, storing it in the refrigerator buys you an extra six months of shelf-life.
Dosage: One tablespoon for adults. Whether or not you choose to give this to your older children is up to you. If you do, stick to one-fourth of a teaspoon. Yes, there is alcohol in this cough syrup…just like there is alcohol in commercial cough syrup. You wouldn’t take shots of Robitussin, so don’t take shots of this one.

